
 |
| The finished piece from a couple of weeks ago and a close-up of the richness and variation of the background. |
 |
| All paper I want saved has been protected, and one coat of Payne's gray has been applied to the wet surface. |
I'm using a method that my friend Geoff McCormack shared with me. Step one is to protect and mask off the area's you want to save as white paper which will become the subject of the painting. I've used green painter's tape, burnished down, clear contact paper for the large space and frisket (masking fluid to seal the edges of the contact paper. This is done on 300 lb. arches cold press paper.
 |
| After 3-4 coats of a mix of Windsor Green and phthalo blue. |
Each layer has to dry completely before applying the next, so it is a time consuming process. This example is after 3 or 4 layers have been applied. The heavy paper does not ripple, but the edges do come up. You have to use a very gentle touch with the spenge and make sure your paper gets a complete soaking.

I continued this process until I had the depth of color I wanted somewhere around 6-8 layers. My very last coat was done with a good spraying of my mouth atomizer, just to make a very consistent coverage.
I wanted to have some light and create a watery feel to the upper portion of the painting. I created that movement with sprays of window cleaner onto the painting and blotting it with paper towels.
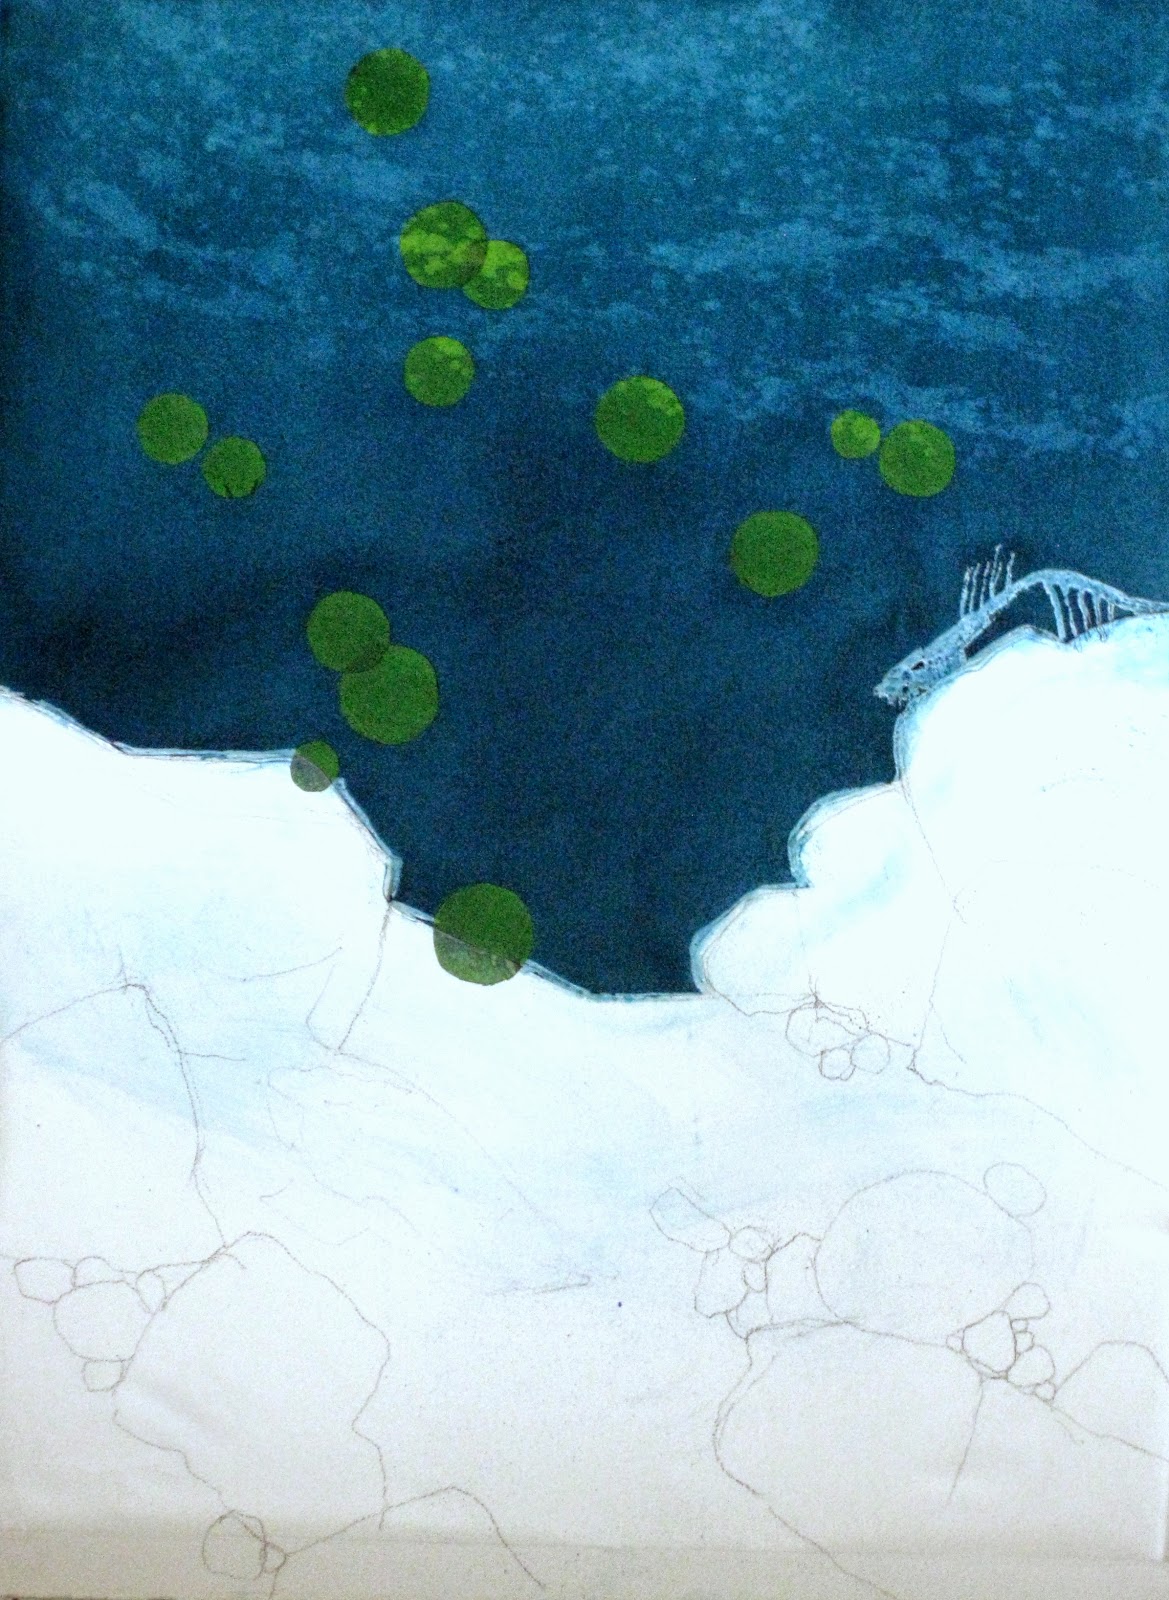
After peeling off the tape, contact paper and masking fluid, my painting is now waiting for me to create the rocks, gravel, salmon eggs floating down, the salmon skeleton and dead salmon adding nutrition to the stream for the developing eggs. It's all part of the "Life Cycle Imperative" series.
 |
| Waiting for the rest of the story. |
No comments:
Post a Comment